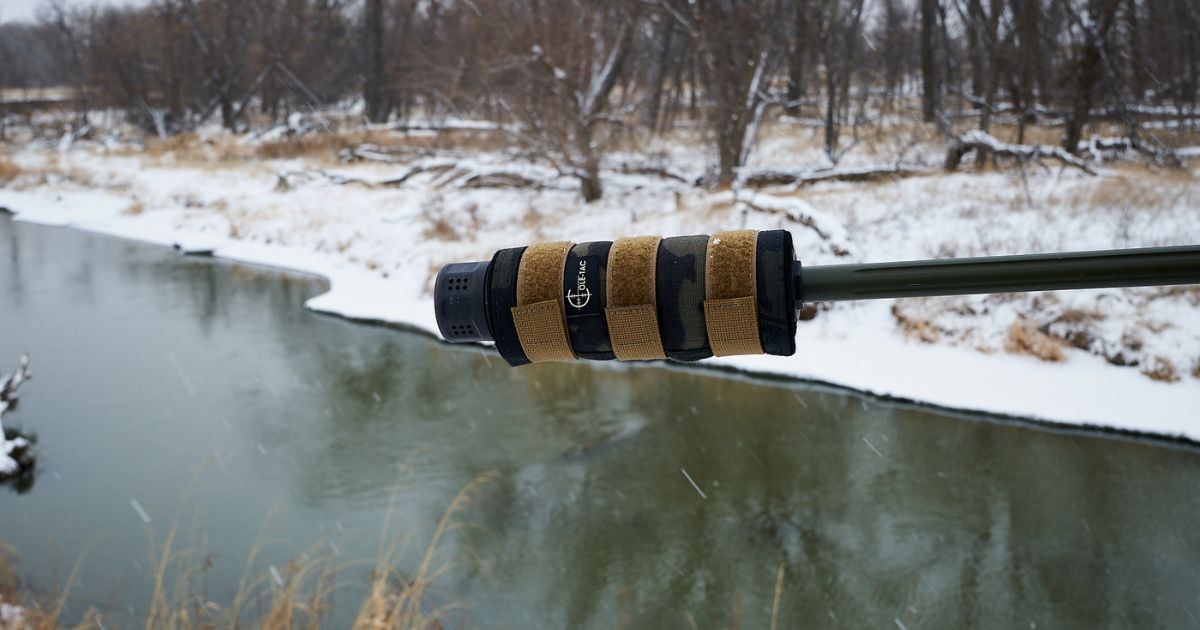
Drills to Test Balance and Follow-Up Shots With a Suppressor Cover
After you install a suppressor cover, your rifle will not handle the same way it did before. The added weight sits forward of the receiver, which changes how your rifle presents, recoils, and settles between shots. So it’s important to run drills to adapt to these changes.
But you’re not training speed or accuracy here. You are checking how the rifle moves, stops, and recovers with the suppressor cover in place.
What These Drills Are Designed to Test
Each drill focuses on feedback you can feel while shooting. As you work through them, you are evaluating:
- How the rifle balances with added weight. You will notice this as the rifle comes up from ready positions and during target transitions.
- How quickly the rifle settles after recoil. Some setups return naturally to the target, while others require steering.
- How follow-up shots feel. If the second shot requires extra effort to line up, the balance may be working against you.
- How suppressor cover placement affects handling. Small changes in placement can change the rifle’s balance and influence its behavior.
When to Run These Drills
These drills are most useful immediately after a change to your rifle. Run them:
- After installing a suppressor cover for the first time. The rifle may feel different even if nothing else has changed.
- After changing the suppressor cover placement or length. Small adjustments can alter how the rifle tracks and settles.
- After switching rifles or suppressors. Balance and recoil behavior do not transfer cleanly from one setup to another.
After running the drills and adjusting your suppressor cover placement, repeat the same drills under the same conditions to verify that the changes work for your setup.
Drill #1 – Controlled Pair From Ready (Balance and Recovery Test)
This drill lets you feel how the rifle behaves during presentation and immediately after the first shot. You are paying attention to how much effort it takes to get the second shot lined up.
How to Run the Drill
Run each repetition at the same pace so balance differences are easier to feel.
- Start from a low ready position, with the rifle pointed just below the target.
- Bring the rifle up at a natural pace.
- Fire two controlled shots on a single target.
- Let the rifle settle on its own between shots.
- Reset fully to low ready before the next repetition.
What to Watch For
- Muzzle rise and return – Notice whether the rifle comes back on target without extra input from your shoulders or hands.
- Front-end control – Pay attention to whether the rifle feels slow to stop after recoil.
- Consistency between reps – Each repetition should feel similar if balance is working in your favor.
Drill #2 – Lateral Transition Drill (Tracking With Added Weight)
Side-to-side movement highlights how forward weight affects your rifle’s starting and stopping. If the balance is off, your rifle may overshoot targets or hesitate when changing direction.
How to Run the Drill
Focus on clean movement rather than speed.
- Set two targets spaced laterally at a comfortable transition distance.
- Start with the rifle aimed at one target.
- Fire one shot per target, alternating back and forth.
- Move the rifle smoothly between targets.
- Maintain a steady cadence throughout the string.
What to Watch For
- Delayed stops on target – Notice if the rifle keeps moving after you try to stop on the next target.
- Extra effort during transitions – Pay attention to how much shoulder or core input it takes to control the front end.
- Fatigue over repeated strings – Forward-heavy setups often show strain earlier during lateral movement.
Drill #3 – Positional Follow-Up Drill (Stress and Stability Test)
Dropping to kneeling or using support changes how the rifle loads against your body. These positions increase leverage and make balance issues easier to notice.
How to Run the Drill
Keep each repetition deliberate so position changes don’t mask handling feedback.
- Start standing with the rifle at a ready position.
- Drop into a kneeling or a supported position (such as a barricade or shooting bag).
- Settle into the position before firing.
- Fire controlled follow-up shots, allowing the rifle to settle between shots.
- Stand back up and reset fully before the next repetition.
What to Watch For
- Rifle settling speed – Notice how quickly the sights return after each shot.
- Sight recovery consistency – Watch whether the sights return to the same place each time.
- Repeatability – Pay attention to whether the control feels consistent or requires correction as the reps add up.
Turning Drill Feedback Into Better Setup Decisions
The value isn’t in running the drills once. It’s in repeating them after minor adjustments and paying attention to what feels easier or harder to manage. Use these drills as a check and let them guide placement decisions.
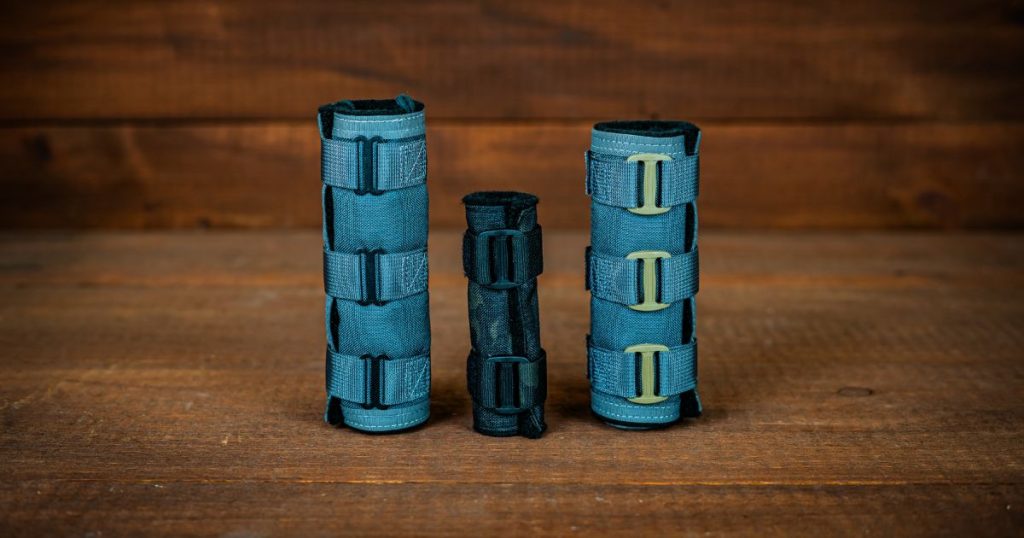
If you’re adjusting or dialing in a setup, explore Cole-TAC’s custom suppressor covers to find an option that fits your suppressor and shooting style.
If you need more help, check out our other guides: